
This page details the process of loading data for examination, running a single test from the workflow, and viewing the test results.
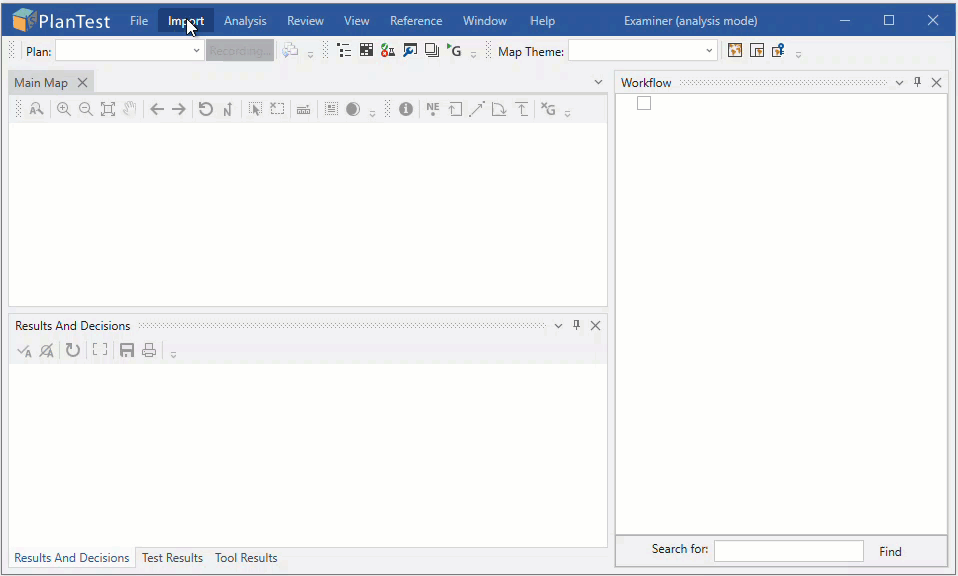
PlanTest has three main concepts guiding its design: the data displayed as a drawing (map), an associated workflow, and results from analytic tests and decisions. These correspond to the windows below, each having other windows and controls supporting their use.
Note that your layout may differ depending on your site or personal settings.
The Map is the visualization of the survey data for the plan to be examined, plus prior survey plans impacted or tied to the new survey. Several other windows contain controls which modify, support and affect what is shown in the map.
The Workflow is a dynamically built tree of all the steps and tests for a specific type of plan. It uses check boxes and colors to provide feedback on the completion and state of each step and group of steps.
Results windows provided detailed information on the results of automated tests and "check only" steps in the workflow. There are three main results windows. The Results and Decisions window gives information on all completed tests and any decisions made during examination. The Test Results window provides detailed information on automated tests, and is used to enter comments for an step with a decision. The Tool Results window provides analytic detail for the cadastral tools.
Starting an examination requires just three steps, which are generally automated from job control. Here we will discuss them as a manual process, and provide show how they are executed in a demo
The demonstration below shows selection of a data file using the main "Import" menu, selection of the plan to examine, and finally use of the Analysis menu "Run all" to run all analytic tests.
Under Construction The guide is currently being worked on and not complete past this point. Included for client review.
Use of check tests